


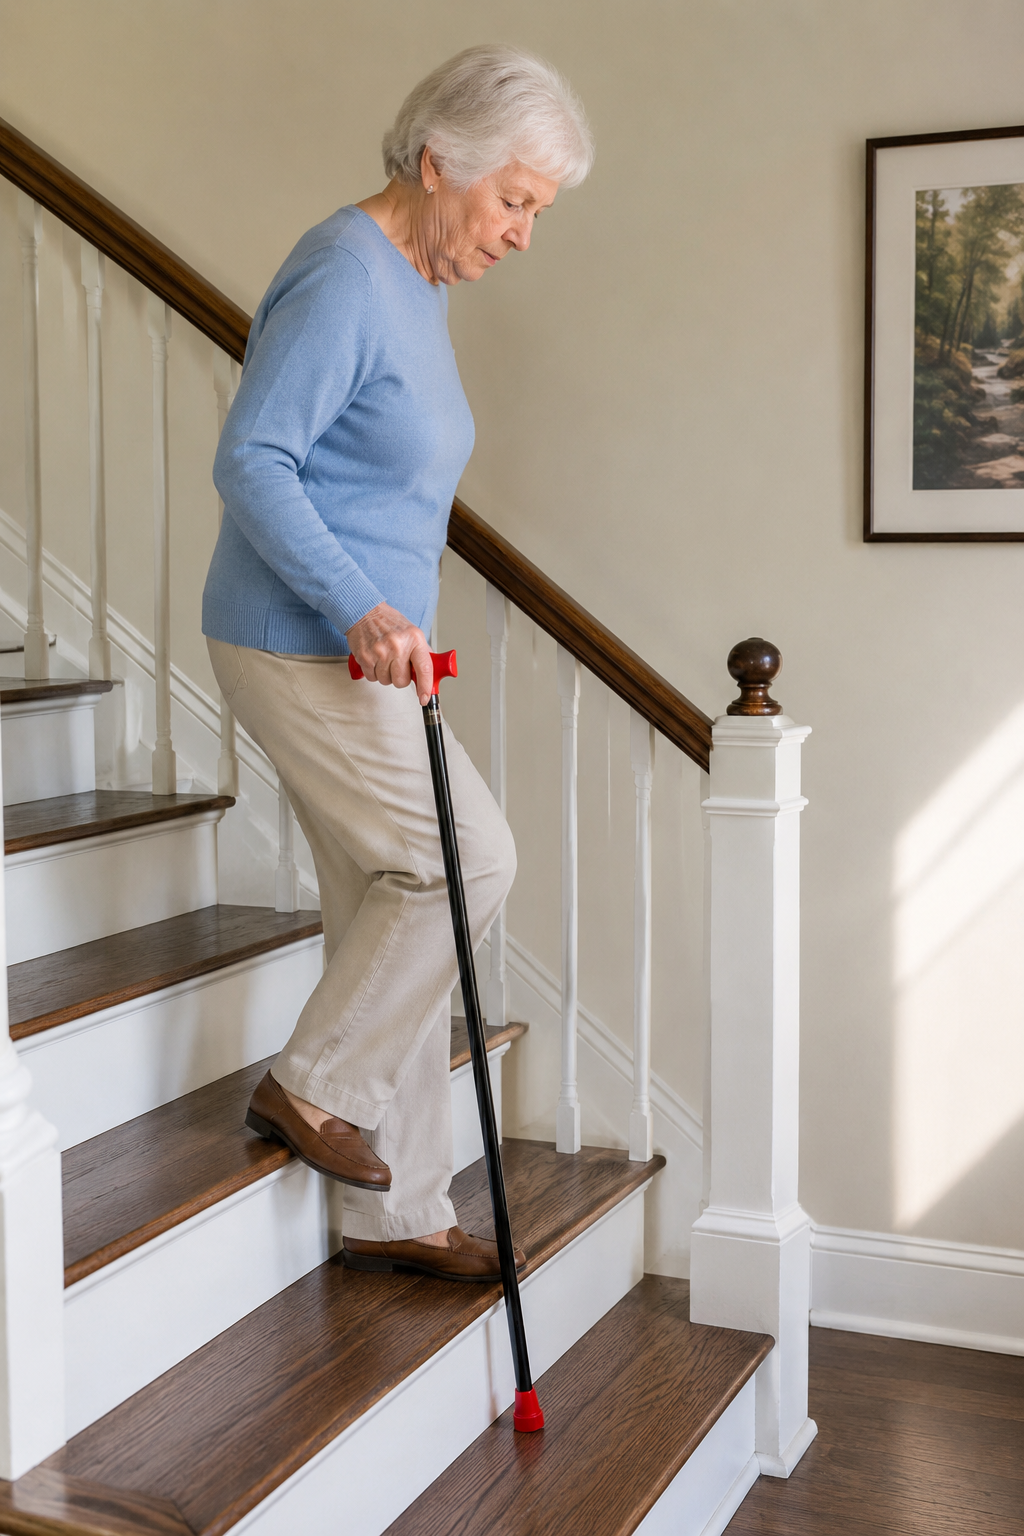
Stair navigation is the moment when many cane users feel most uncertain about technique. The cane that works well on level ground is suddenly a three-element problem: the cane, one railing (if present), and the body -- all coordinated across a vertical surface. Getting this wrong produces falls that are among the most serious a cane user can experience.
The Basic Rule: Strong Side Up, Weak Side Down
The fundamental rule for stairs -- whether using a cane or not -- is:
- Going up: Lead with the stronger (unaffected) leg -- it provides the lifting power for each step
- Going down: Lead with the weaker (affected) leg -- the stronger leg remains in support while the weaker one descends first
A useful mnemonic taught in rehabilitation: Up with the good, down with the bad.
Cane and Railing: How to Divide the Task
When a railing is present, the preferred approach is:
- Hold the railing with the cane-side hand (move the cane to the non-railing side)
- Or: hold the cane in the non-railing hand and the railing in the railing hand
The second approach -- cane in one hand, railing in the other -- provides the most stable support if the railing is secure and at a comfortable height. The cane acts as a second rail on the open side.
When no railing is present, the cane alone must provide the entire supplementary support. This is less stable than cane-plus-railing, and slow, deliberate movement is essential.
Going Up Stairs with a Cane
- Approach the step squarely
- Place the cane on the step above (one step ahead) or keep it on the current level depending on cane length and body proportions -- the cane should be on the step you are moving onto
- Step up with the stronger leg first
- Bring the weaker leg and the cane up to the same step
- Pause if needed, then repeat
Going Down Stairs with a Cane
- Approach the step edge carefully, toes near but not over the edge
- Place the cane on the step below
- Step down with the weaker leg first
- Bring the stronger leg and the cane down to the same step
- Pause if needed, then repeat
Common Technique Errors
| Error | Risk | Correction |
|---|---|---|
| Leading with wrong leg on descent | High -- uncontrolled descent if weaker leg buckles | Weak leg leads down; strong leg controls descent |
| Cane planted too far ahead | Overreach, forward fall | Cane on the step you are moving to, not two steps ahead |
| Rushing the step sequence | Loss of controlled one-leg-at-a-time sequence | Step-by-step with pause; not alternating feet |
| Carrying items while on stairs | Destabilises both hands | Use backpack or have items handed up/down separately |
| Wet stairs without railing | Tip slip on wet surface | Steady Tip significantly improves wet stair grip |
Wet and Carpeted Stairs
Wet hard stairs are among the highest-risk surfaces for cane users. The Steady Tip (3mm lateral slip on wet pavement vs. 14-18mm for standard ferrule) provides substantially better wet tread grip than a standard ferrule. On carpeted stairs, both tips perform well.
Spiral and Narrow Stairs
Spiral staircases have no uniform rise height (the inner edge of the step is higher than the outer edge per step rotation). Navigating spiral stairs with a cane is significantly more challenging than straight stairs: the cane cannot easily be placed in the same position at each step, and the body must lean inward or outward. Slow, deliberate movement and maximum use of the central column handrail (if present) is essential.
View the full DaiWalk cane range. Related: Walking Cane for Gait Rehabilitation | Cane Ice Tip for Winter


