


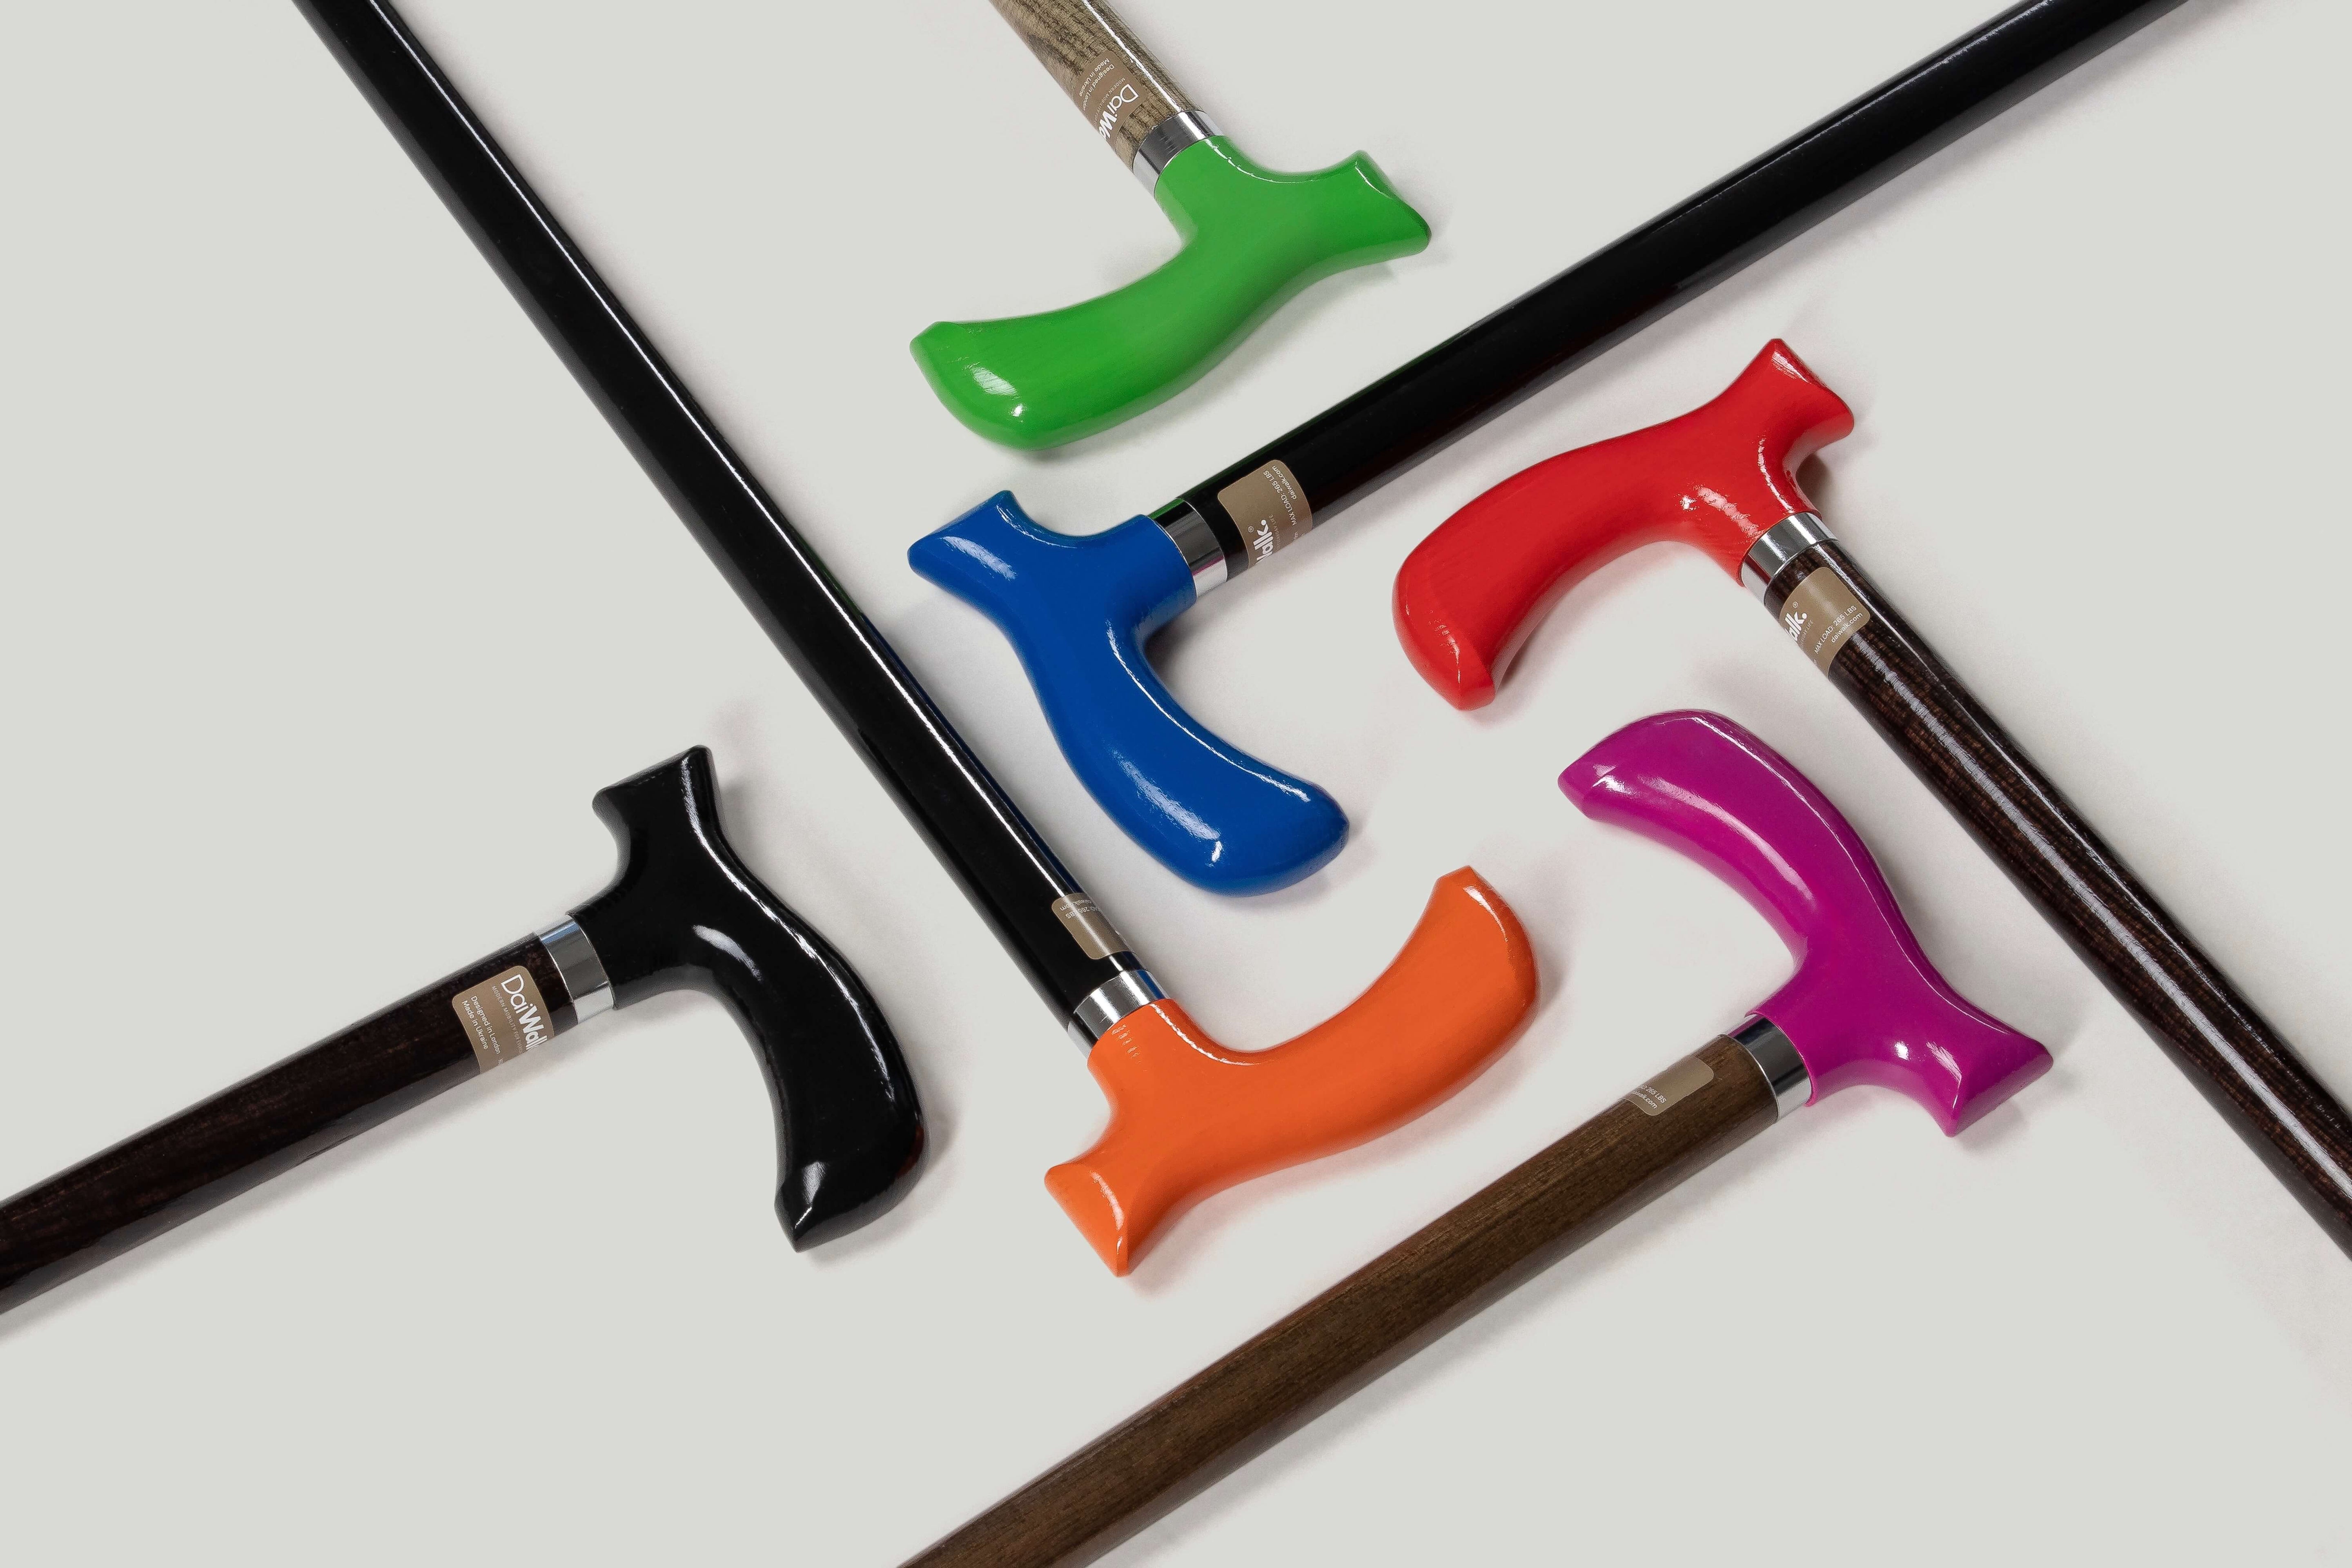
The most common cane fitting error is measuring from the floor to the hip rather than to the wrist. Hip measurements consistently produce canes that are 30–60mm too long. The result is shoulder elevation during use, trunk compensation, and eventually shoulder pain — not from the condition that prompted the cane purchase, but from the cane itself.
The correct measurement takes 45 seconds and requires only a measuring tape and your walking shoes.
The Correct Measurement Protocol
- Put on the shoes you will wear most often while using the cane. Heel height matters — a 25mm heel raises your wrist height by approximately 20mm.
- Stand as upright as your normal posture allows. Do not overcorrect — your measurement should reflect your walking posture, not an idealised stance.
- Let both arms hang naturally at your sides. Do not flex the elbows or raise the shoulders.
- Have someone measure from the floor to the wrist crease — the transverse fold on the palmar side of the wrist, where the wrist meets the base of the palm.
- Round to the nearest 10mm.
That number is your cane height.
Why Wrist Crease and Not Hip, Elbow, or Floor-to-Pinky
| Measurement Point | Error Produced | Biomechanical Result |
|---|---|---|
| Hip (common pharmacy recommendation) | 30–60mm too long | Elevated shoulder, trunk lateral lean, shoulder impingement risk |
| Elbow at 30° flexion | Requires specific flexion — difficult to self-measure accurately | Correct if measured precisely; imprecise in practice |
| Floor to pinky finger | Depends on hand size — consistent for one person, not standardised | Approximately correct for average hand size |
| Wrist crease | Minimal — measurement is at a defined anatomical landmark | Correct elbow flexion (15–20°) during stance phase |
The Elbow Angle Standard
Correct cane height produces an elbow angle of approximately 15–20° during the stance phase of walking — when the cane is forward and in ground contact. This angle optimises the load path from hand to shoulder and allows the triceps to provide push-down force efficiently.
Below 15°: cane is too long. The shoulder rises, the load path shortens, and the user's body compensates with trunk lean.
Above 25°: cane is too short. The elbow flexes excessively during stance, reducing load capacity and placing the wrist in a mechanically disadvantaged position.
Self-Measurement When Alone
If you cannot have someone measure for you:
- Stand against a wall for posture reference
- Hold a pen horizontally at your wrist crease height against the wall
- Mark the wall lightly with a pencil or use a piece of tape
- Measure from the mark to the floor
Alternatively, use the DaiWalk cane length calculator — it requests your height and shoe heel height and calculates the correct wrist crease measurement using population-scaled anthropometric ratios. Accurate to within ±8mm for 95% of users. Already have a cane and want to check it rather than measure from scratch? The free 3-question cane height check tells you whether it is too tall or too short, and how to measure for a walking cane walks through the method visually.
Measurement Adjustments for Specific Conditions
| Condition | Standard Adjustment | Reason |
|---|---|---|
| Significant trunk forward lean (kyphosis) | Subtract 10–20mm from measurement | Trunk lean effectively shortens the arm reach |
| Leg length discrepancy | Measure standing on the shorter leg; add 5mm | Cane compensates for the shorter side |
| Post-hip replacement (early recovery) | Add 15–20mm temporarily | Reduced weight bearing requires more cane reach |
| Using cane on stairs frequently | Standard measurement applies; no adjustment needed | Stair use does not change optimal standing height |
| User wears orthotics with variable heel height | Measure in primary shoes and secondary shoes; set to average | Or use collet adjustment to fine-tune per footwear |
Setting the DaiWalk Shaft to Your Measurement
Collet-adjusted telescoping shaft: rotate the collar counter-clockwise to release, extend or retract the inner shaft to the measured height, rotate clockwise to lock. Apply firm rotational torque — the collet compresses the inner shaft circumferentially and should not slip under normal walking load.
Height markings on the shaft are in 10mm increments. The collet can be set to any position between markings for precise intermediate heights.
Fixed-length shafts are specified at order — provide your wrist crease measurement at checkout and the shaft is produced to that length. No adjustment mechanism required.
How to Verify the Fit After Setting
- Hold the cane in your dominant hand (or weaker hand if post-surgical — consult your PT)
- Place the tip on the floor alongside your foot, approximately 100–150mm to the side
- Check your elbow angle — it should be gently flexed, not straight and not deeply bent
- Walk normally for 30–60 seconds. The shoulder on the cane side should not rise during the stance phase
- If the shoulder rises, shorten the cane 10mm. Repeat until level


