


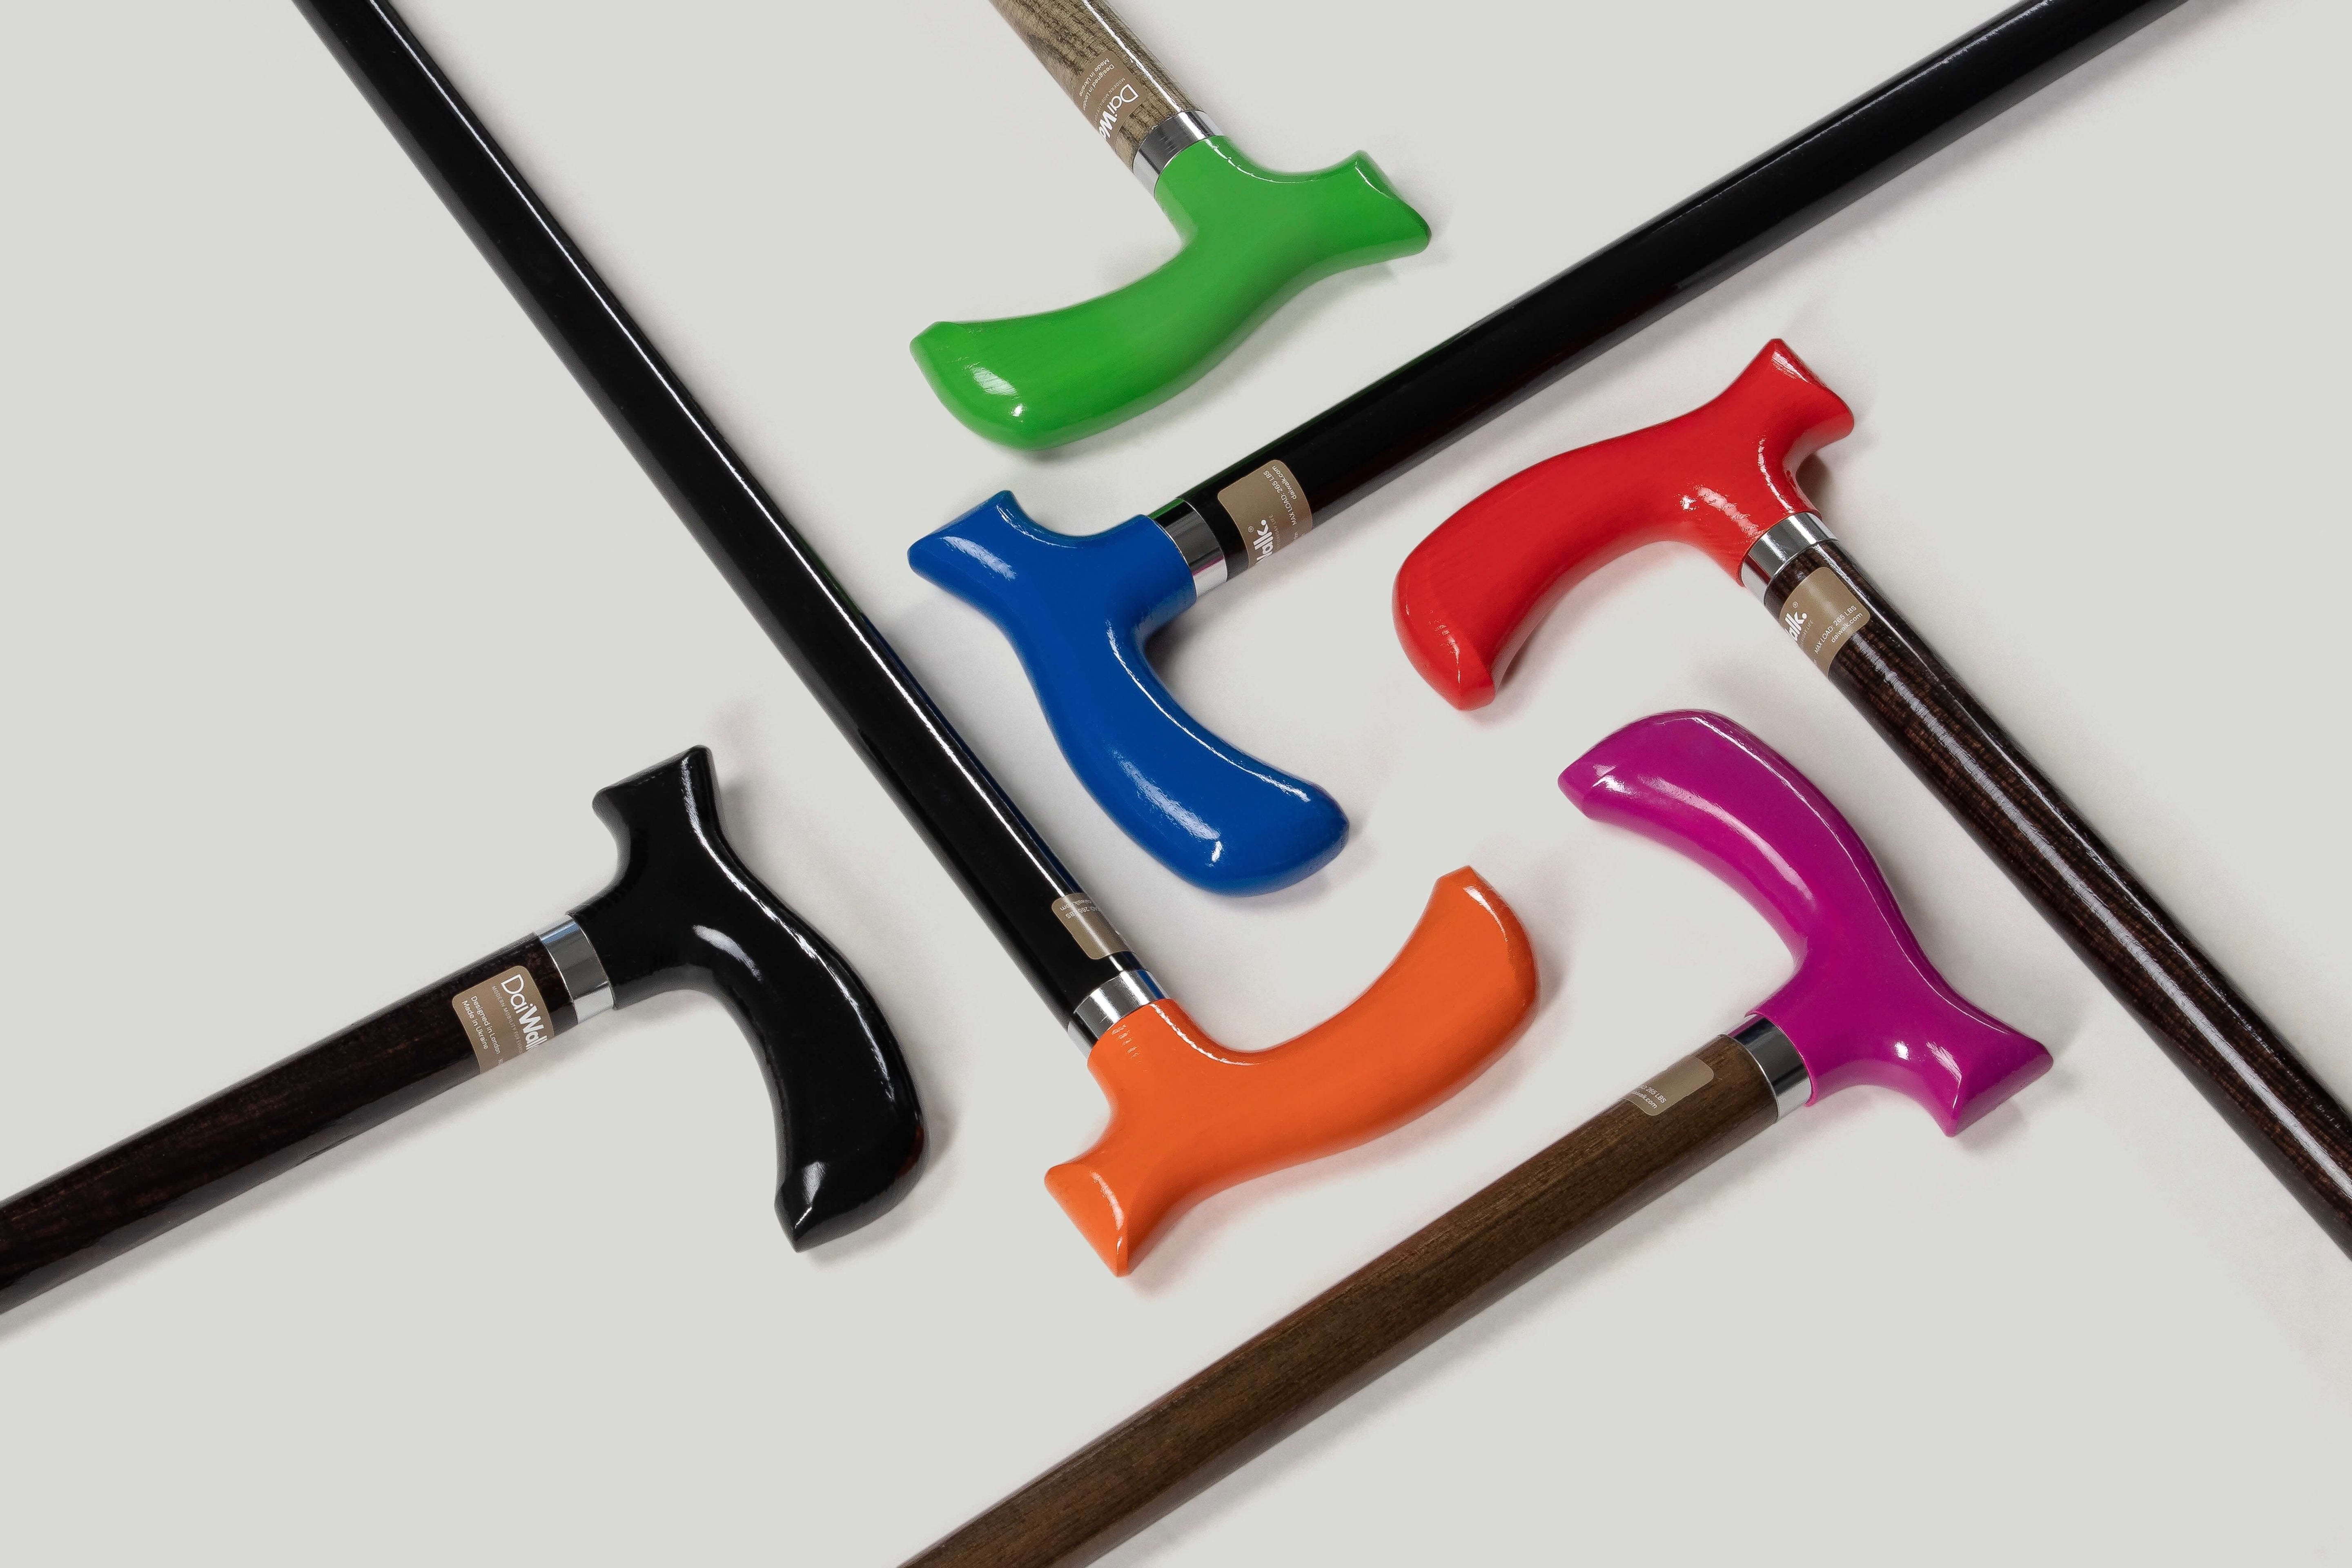
Your surgeon will tell you to use a walking cane after hip replacement. They will tell you which side to hold it on, how long to use it, and when to wean off. What they will not tell you — because it falls outside the clinical brief — is that the handle on the cane they hand you, or point you toward, will almost certainly cause wrist pain within three weeks if you are using it for more than three hours a day.
This is not a complaint about surgeons. It is an observation about a system where the clinical outcome is the hip, and the cane is an afterthought. Here is what the afterthought actually requires.
The Contralateral Rule: Why You Hold It on the Opposite Side
Most patients leaving hospital after hip replacement are told to hold the cane on the opposite side from the operated hip. Many are not told why. The biomechanical reason matters because it affects how you use the cane and how much load transfers through it.
During normal walking, the gluteus medius on the stance leg contracts to prevent the pelvis from dropping on the swing side. After hip replacement, this muscle is weakened — either from the surgical approach or from pre-operative deconditioning. Holding the cane on the contralateral side reduces the required gluteus medius force by approximately 25–30%, offloading the operated joint during the stance phase.
This means the cane is doing real work with every step. The load through the handle during stance phase after hip replacement is higher than in standard cane use — which makes handle geometry more important, not less. For everyday (non-surgical) walking, our free which-hand guide explains the same opposite-side rule and the correct walking, stair and standing technique.
Why the Standard Hospital Cane Handle Is Wrong for Post-Surgical Recovery
The T-bar handle provided or recommended in most post-surgical contexts concentrates load beneath the index and middle finger joints — measured at 4.0–4.2 N/cm² peak pressure in our testing. For a patient using a cane 6–8 hours per day during early recovery, this is approximately 12,000–16,000 peak pressure cycles per day on a single hand zone.
Wrist pain following hip replacement is frequently attributed to the surgery, the anaesthesia, or the patient's underlying condition. In our customer data, a significant proportion resolves within two to three weeks of switching to a handle that distributes load differently. If your wrist is sore now, the free wrist pain checker helps you tell whether it is the handle, the height or overloading.
The DaiWalk Anatomic Grip™ reduces peak pressure at the finger joint zone by 55% — from 4.2 N/cm² to 1.9 N/cm² — by distributing load across the palm heel, mid-palm, and finger base simultaneously. For post-surgical recovery where the cane is in constant use and wrist health is not the focus of clinical attention, this difference is material.
Height Precision After Hip Replacement
Post-surgical cane height is set by the physiotherapist during early recovery and may be adjusted as gait normalises over weeks. The standard adjustment protocol assumes a cane that adjusts in 12–25mm increments — and physiotherapists work within that constraint.
A collet mechanism changes this. The DaiWalk Original 1.0™ adjusts to the nearest millimetre, allowing the physiotherapist — or the patient — to match height precisely to the wrist crease at each stage of recovery, without being constrained to the nearest available hole.
This is relevant because post-surgical gait changes weekly. The hip mechanics, the compensatory patterns, and the load distribution shift as strength returns. A cane that adjusts in fine increments can track these changes. A cane locked to 25mm increments cannot.
| Recovery Phase | Typical Cane Height Adjustment | Precision Required |
|---|---|---|
| Week 1–2 (non-weight-bearing or partial) | Set to wrist crease for full upright support | Millimetre precision — posture compromised |
| Week 3–6 (increasing weight-bearing) | May lower slightly as posture normalises | 5–10mm adjustment common |
| Week 7–12 (weaning phase) | Height maintained; use duration reducing | Stability more important than adjustment |
Use the DaiWalk Cane Height Calculator to establish your baseline setting. Bring the measurement to your first physiotherapy session. To re-check fit as your gait normalises week to week, the free 3-question cane height check confirms whether it is still set right.
Tip Choice During Recovery
Post-surgical patients encounter three surfaces where tip performance matters most:
- Hospital and clinic floors (polished linoleum or tile): Non-marking, high-traction on dry surfaces. The DaiWalk Elegant Tip is designed for this — silent, non-marking, secure on clean indoor floors.
- Home floors (hardwood, tile, carpet transitions): The Elegant Tip handles smooth surfaces; the Core Tip reduces wrist impact on hard floors over long recovery sessions.
- Wet outdoor surfaces (post-discharge walking): The Steady Tip — wet-compound rubber, 3mm lateral slip on wet polished concrete vs. 14–18mm for a generic ferrule. Critical for patients who live in wet climates or who are walking outdoors as part of recovery.
All DaiWalk tips swap in under 30 seconds without tools. During post-hip recovery, changing tip for surface is practical — the full tip collection is in the interchangeable tips section.
The Timeline: When to Upgrade From the Hospital Cane
| Week Post-Surgery | Clinical Priority | Cane Priority |
|---|---|---|
| Week 1–2 | Wound management, early mobility | Any stable cane. Hospital provision is fine. |
| Week 3–4 | Increasing activity, physiotherapy begins | Handle pain begins to appear at this stage. Upgrade window. |
| Week 5–8 | Gait retraining, building duration | Handle geometry and height precision matter most here. |
| Week 9–12 | Return to normal activity | Tip selection for real-world terrain becomes relevant. |
The optimal upgrade window is weeks 3–4. Early enough that wrist pain has not compounded; late enough that the surgical side is stable and gait is beginning to normalise. When you reach the weaning phase, our free when-can-you-stop readiness check turns the standard physiotherapy readiness tests into five quick questions.
What to Tell Your Physiotherapist
Physiotherapists working in post-surgical contexts are accustomed to standard cane specifications. When bringing a DaiWalk Original 1.0™ to your appointment, the relevant information to share:
- Shaft adjusts continuously via collet mechanism — can be set to any millimetre
- Minimum height: 71cm. Maximum: 97cm.
- Shaft lateral play: 0mm
- Current tip: specify which DaiWalk tip is installed
The full technical specification is on the DaiWalk product page. Print the specification section and bring it to your first post-discharge physiotherapy appointment if your therapist is unfamiliar with the product.
Related Reading
- Why Your Walking Cane Hurts Your Wrist — and How to Fix It
- What Makes a Walking Cane Ergonomic?
- How to Choose the Right Rubber Cane Tip
- The 7 Questions to Ask Before Buying a Walking Cane
Biomechanical data on gluteus medius offloading from published gait analysis literature. Handle pressure data from DaiWalk internal testing. Recovery timeline recommendations based on standard post-hip-replacement physiotherapy protocols. This article does not constitute medical advice — follow your surgeon and physiotherapist's guidance on weight-bearing status and recovery timeline.


